
A Git workflow for beginners
Andre Dubovskiy
This guide is for complete newbies to get started implementing features with Git without stepping on coworkers’ proverbial toes. We will assume you are interested in contributing to an existing repo.
Clone the repo
First, get a link to the GitHub repo. You can do this by clicking the green “Code” button on the upper right hand page of the GitHub repo page.
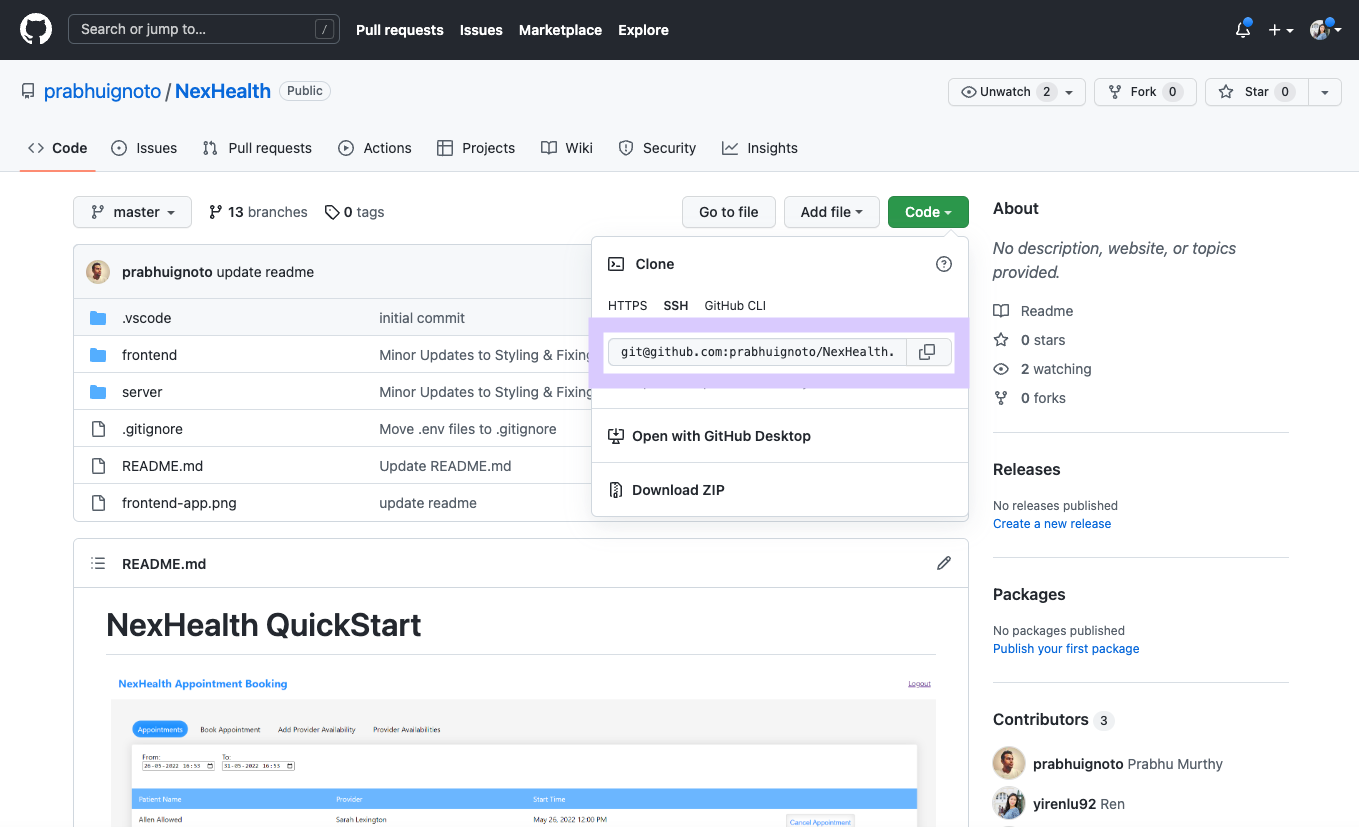
Then, to summarize GitHub’s own instructions, you’ll need to run
git clone <link>
in your command line, replacing <link> with a link to the repository.
Once the cloning is finished, you should be able to step into the repo, in our case:
cd NexHealthCheckout a branch
Great, now you have a fresh, up-to-date version of the code repo on your computer locally. Time to get started on feature work!
You should always, always, always, create a new branch for each feature that you're working on. This makes it a lot easier to work concurrently with your team and resolve issues down the line.
To do this, before you start writing any changes to the repo files, run:
git checkout -b <branch_name>
to create a new branch, replacing <branch_name> with something succinct that captures the changes you plan to make. (More details about checkout and branches here).
Now make your changes.
Add and commit
When you’re happy with your changes, save the relevant files in your editor and add/commit them to your local git repository (instructions below). This will not affect the GitHub repo right away; it all happens on your computer. You can even do this without an internet connection.
Add
First, run
git status
to see which files have been changed/added and need to be included in the commit. If you want to include all the changes, run
git add -A
Commit
Now that you’ve added the files you changed, you can commit them to your local branch. Run
git commit -m “<commit message>”
The <commit message> should be a brief description of the changes you’re contributing and should be marked by quotes. If you forget to add the message and just run git commit, Git will put you into a text editor to write the message. Git really wants you to write a message.
Push to repo
Now that you’ve implemented some changes on your local git repository, hopefully in a branch, you can push the new branch to the online (“remote”) repository on Github and create a pull request for a teammate to review your code. Run
git push
If this is your first time pushing to a new branch you might get a response from the terminal that recommends a more specific command, like this:
dubovski@Dogwater Portle % git push portle
fatal: The current branch new_branch has no upstream branch.
To push the current branch and set the remote as upstream, use

    **git push --set-upstream <remote_url> <new_branch_name>**

dubovski@Dogwater Portle %
Run that command instead:
git push --set-upstream repo_url new_branch
The repo_url and new_branch will be some other values specific to your project.
Pull request
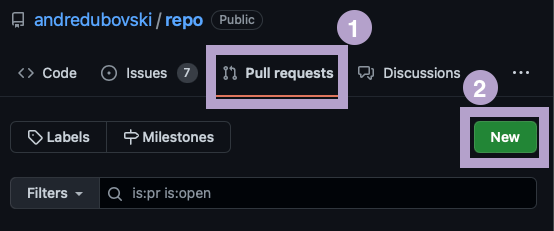
Once your changes have been uploaded, you can open the repo on the GitHub website and press the green Compare & pull request button.
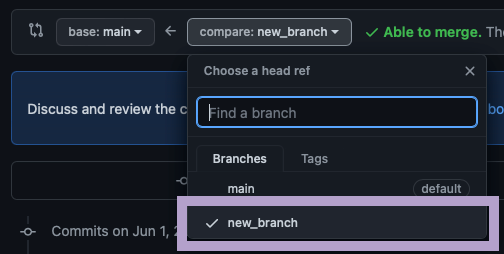
From there, select your new branch under compare: and the base branch you want to merge with (most likely main).
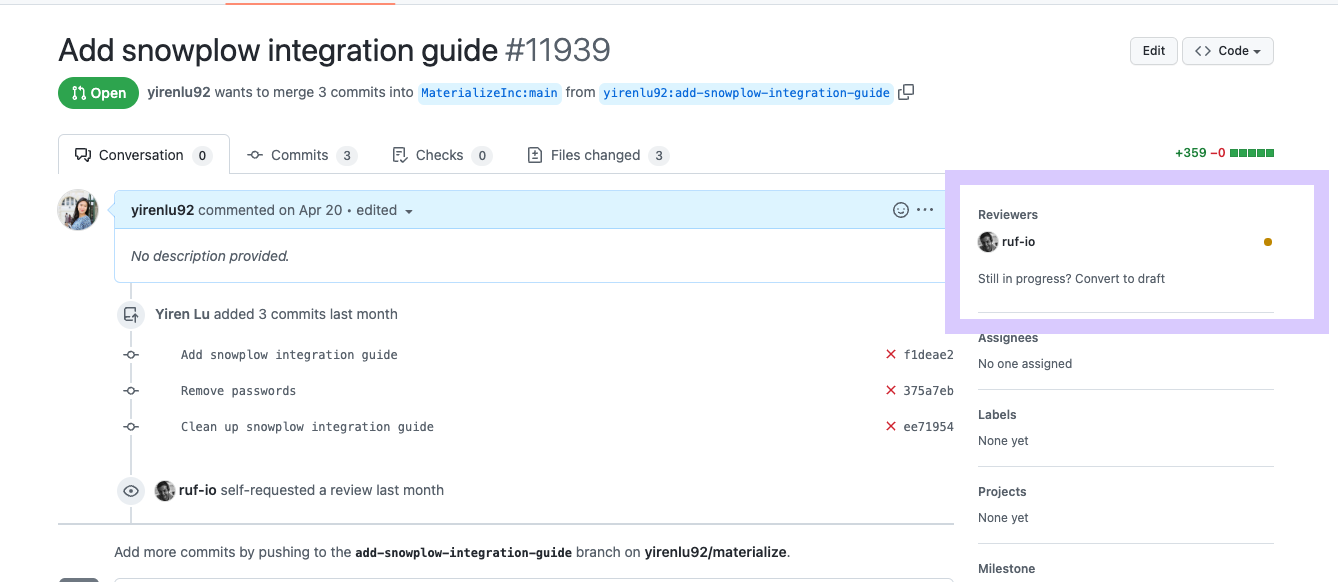
Finally, assign a reviewer to the pull request
Handle feedback on pull request
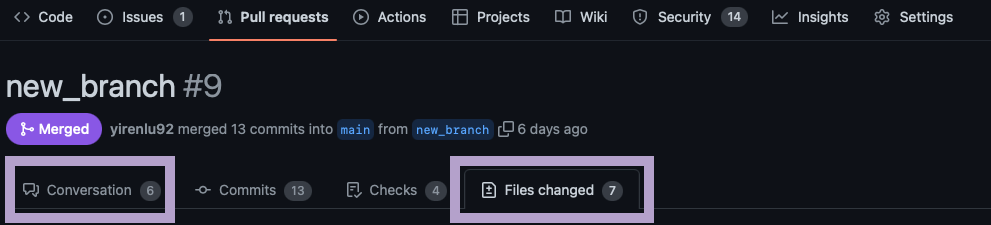
Your reviewer will likely add feedback/comments on the pull request. To see these, go to the Conversation tab under the pull request. You can also see comments inline under Files Changed.
The comments under Files Changed will be organized by file and look something like this:
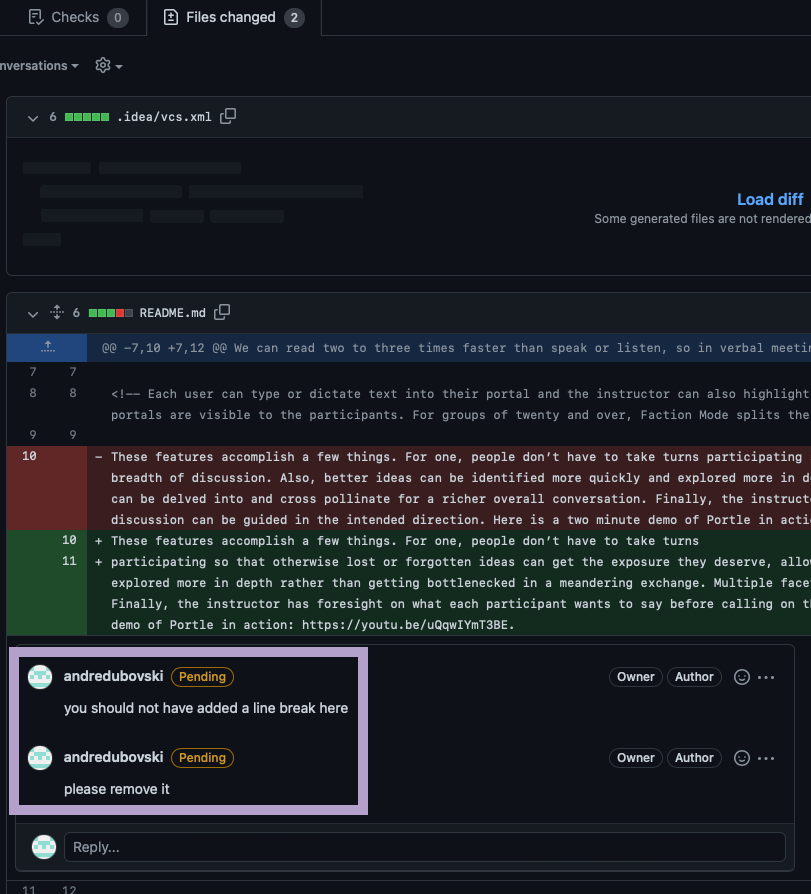
You can either respond to the feedback (if you don't agree), or you can address the feedback. To address the feedback, make the changes in your local files, then go back to the Add & Commit section and repeat those steps. New commits that are pushed to the remote branch will automatically update the pull request.